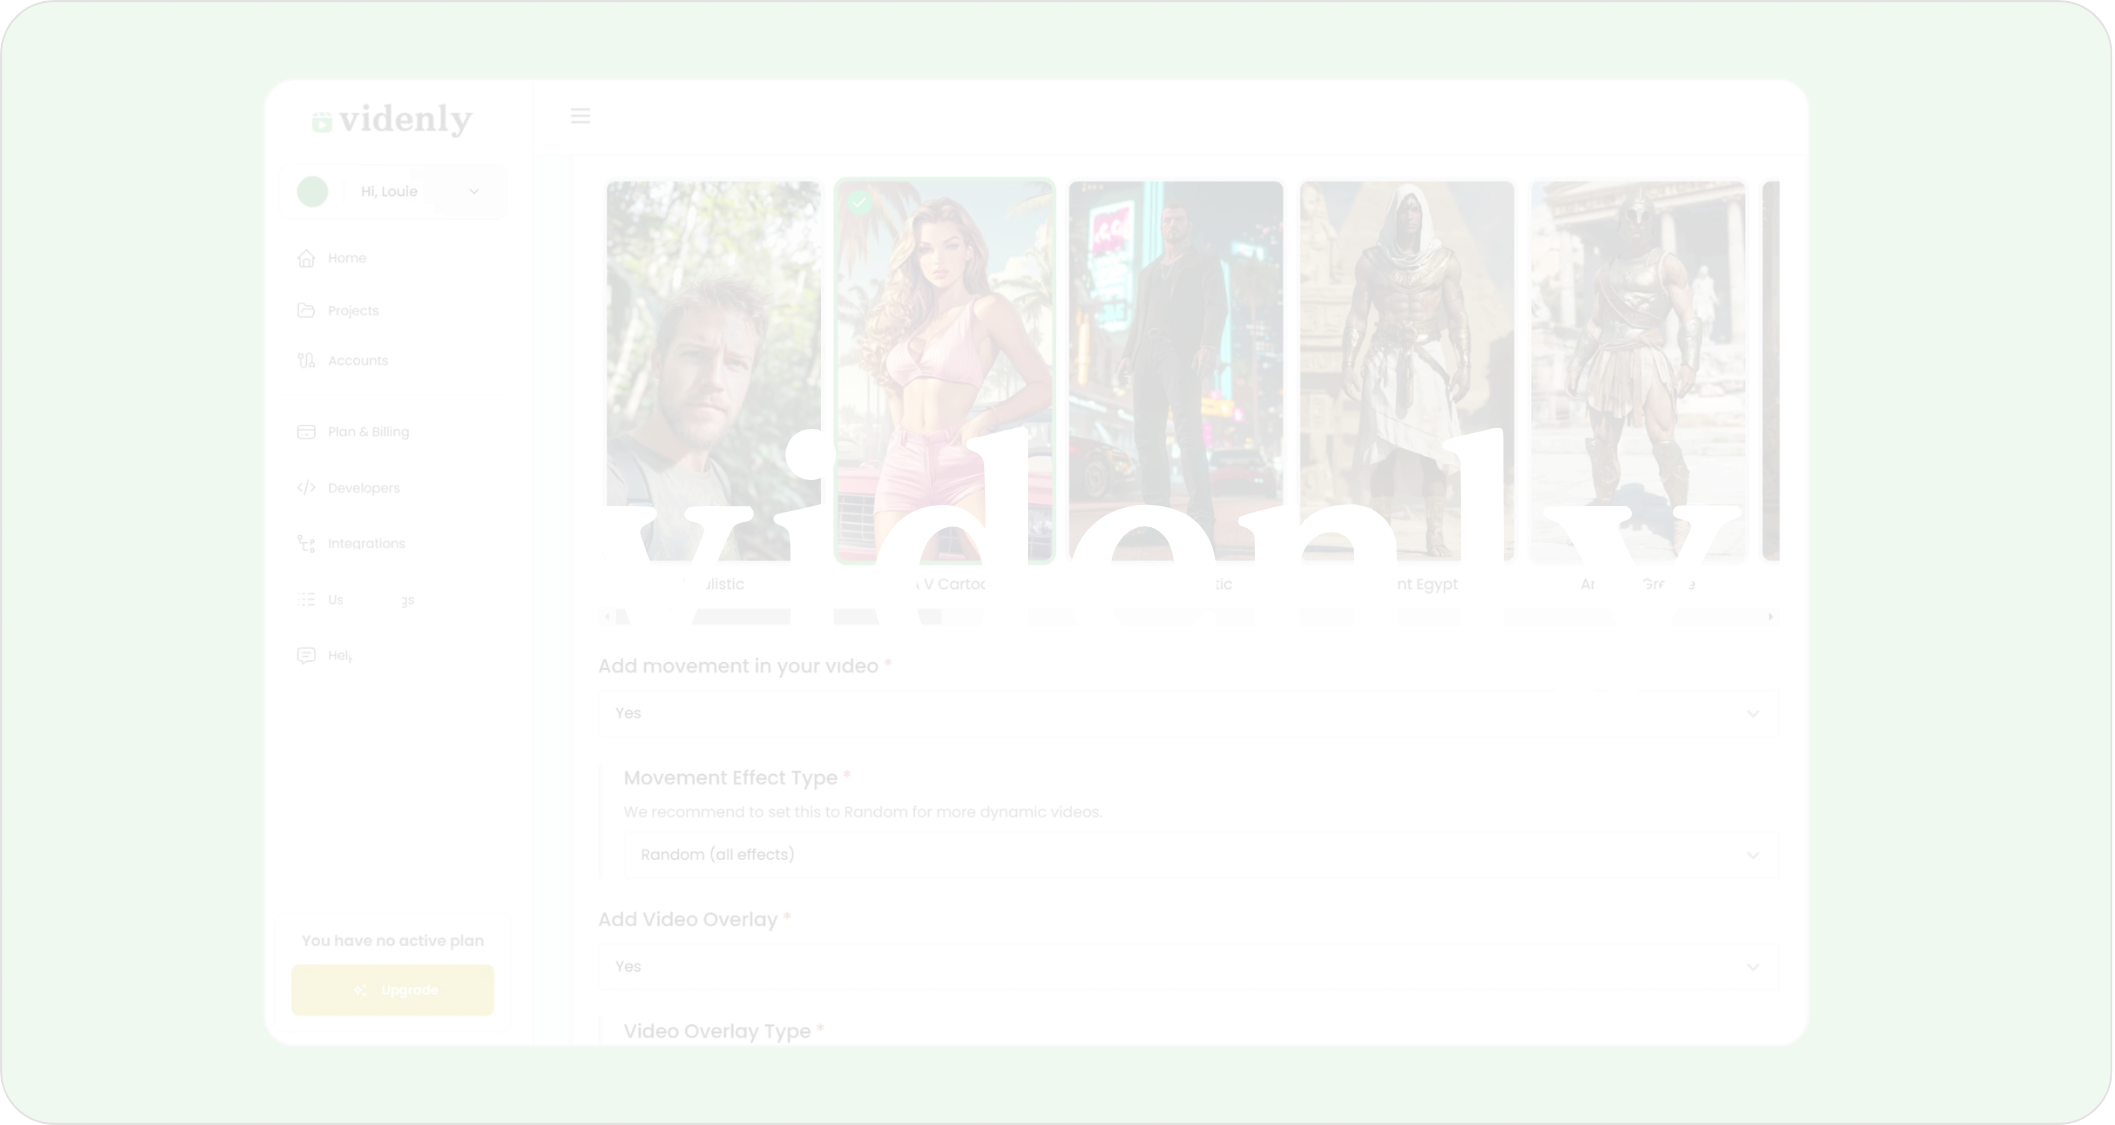
What is Videnly?
Videnly is a powerful video generation and automation platform, designed to streamline the creation, customization, and scheduling of videos for social media and marketing. It enables developers and creators to seamlessly automate video production workflows, manage dynamic video content, and distribute across various platforms. Our platform is accessible to both developers and non-developers alike. Businesses, creators, and agencies can take advantage of no-code integrations through platforms like Zapier to simplify their video production processes. Whether you need to produce branded content, automate marketing assets, or generate personalized videos at scale, Videnly is designed to enhance productivity and save time.Key Features
- Automated Video Generation: Create videos programmatically based on yourproject settings, and custom prompts.
- Customizable Video Options: Define video elements, including text, voice, music, and transitions, to suit your needs.
- Social Media Integration: Automatically publish generated videos to platforms like YouTube and TikTok.
- Detailed Request Logging: Access comprehensive logs for all API requests, including request status and completion time.
- Credits-Based Usage: Manage your video generation usage efficiently with a flexible credits system.
Getting Started
The Quick Start Guide is designed to help you get up and running with Videnly as quickly as possible. These steps provide all the information needed to make the most out of Videnly’s video generation capabilities.Step 1: Create Your Account
Visit Videnly.com and sign up for an account to get started. Choose a plan to access all features.
Step 2: Access the Dashboard
After signing in, navigate to the Videnly Dashboard to manage your projects, choose a plan, and create API keys.
Step 3: Create a Project
Use the dashboard’s project tools to create a new project with customized video settings.
Step 4: Go to the Developers Page
Go to the Developers page in the dashboard where you can generate and manage your API keys.
Step 5: Generate an API Key
Click the “Generate API Key” button, name your key for easy reference, and securely store it.
Step 6: Make Your First API Call
Test your setup by making your first API call to queue a video generation request for one of your projects.


